Create Revit families with elements arrayed along 3D curves
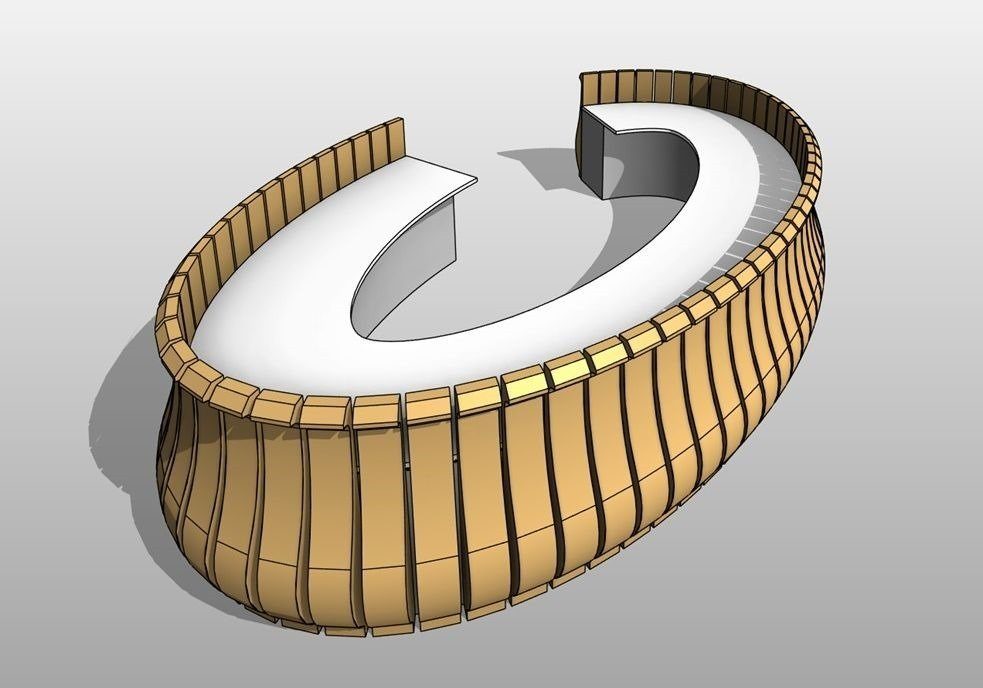
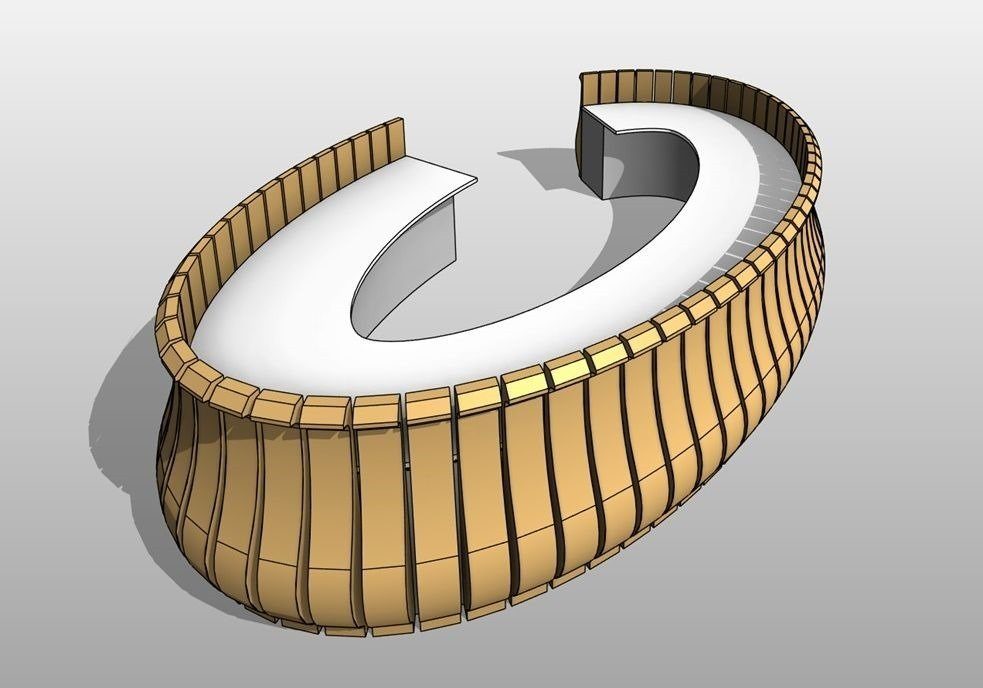
Revit lets you create families with orthogonal or organic forms in the good old family editor or conceptual mass editor, respectively. But what if you need something in between, like the reception table above? The array of timber slats of a custom shape along a 3D curve is extremely difficult to do quickly, accurately and parametrically in the traditional family editor. On the other hand, conceptual massing can crack this in seconds, but who would want to have a mass as a piece of furniture? Even if you could give it a “real” material, if you have other masses in the model then turning this table on will make them all visible!
Instead, you will need an environment where:
- Element category is correctly registered, e.g. “Furniture” and not “Mass”.
- Advanced modelling tools for creating a parametric array of custom shapes along a 3D curve are available.
This environment and how to use it are exactly what we will show you today!
Expected output
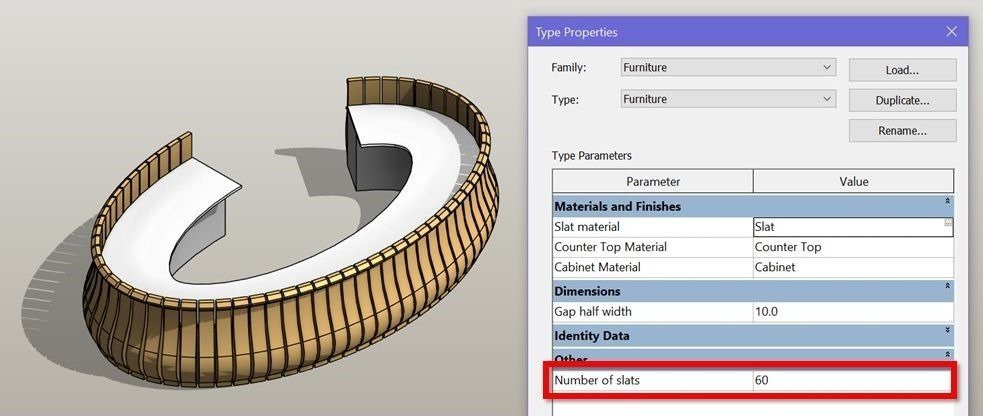
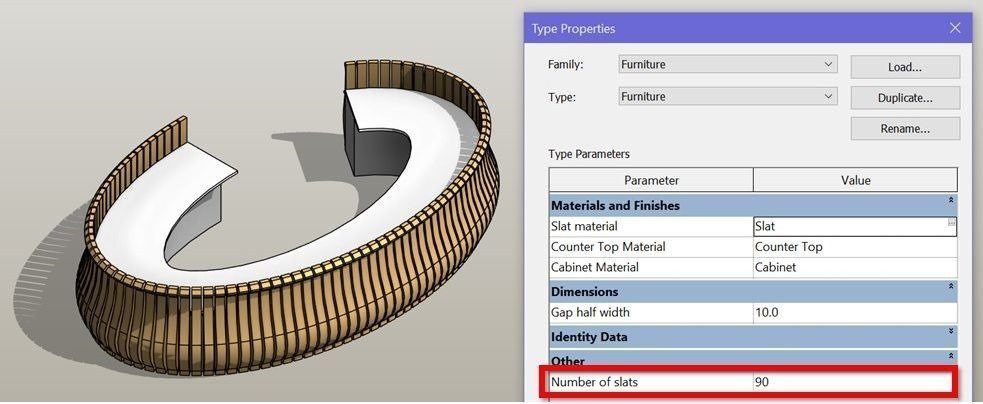
Our furniture family will deliver key advantages:
| Category | Furniture. No more tiny massing objects lurking around in your model! |
| Available parameters |
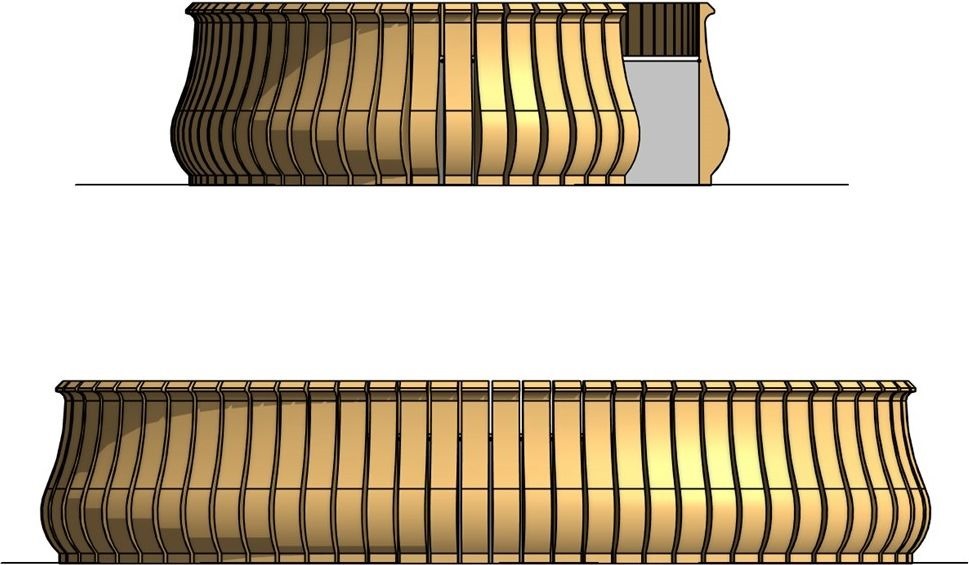
Slat shape can be quickly changed by editing the nested family. Counter’s and cabinets’ geometries are representative so feel free to customise! |
| File size | Varies depending on how many units you want to have in the parametric array, but will rarely go over 1 Mb. |
| Family & Type names | Generic, can be renamed to suit your company’s standards. |
| Others | Has no redundant constraints, construction geometries or subcategories. Built in Revit 2014, easily upgradeable to Revit 2015 and later. |

Or, follow steps below to make one yourself. You will need an intermediate level of Revit knowledge.
Click above to learn from our free YouTube training channel!
Step 1 – Create a slat profile family
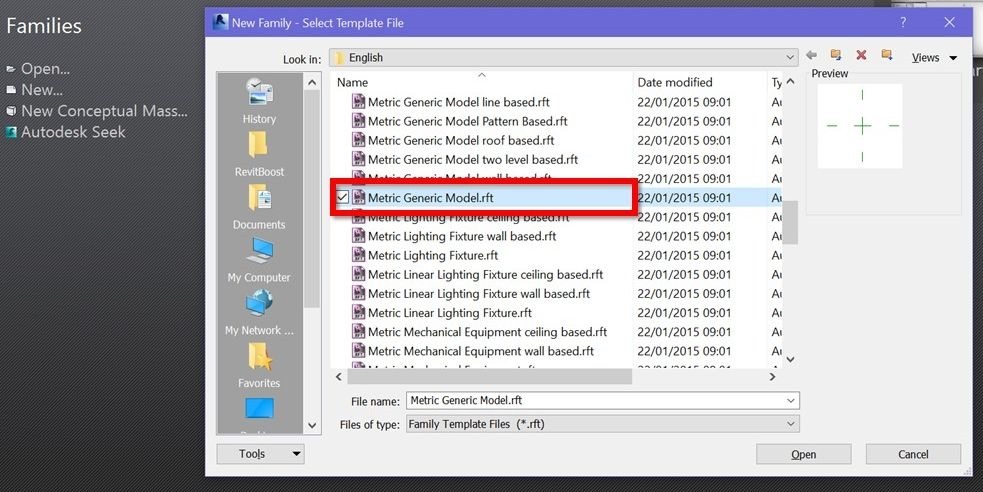
To start, create a new Generic Model family.
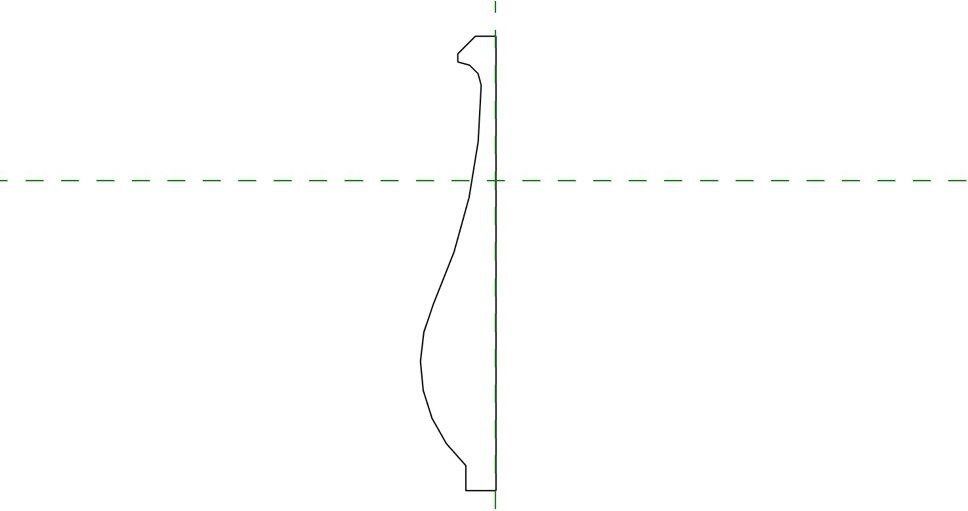
Next, draw the side profile of a slat unit. Make it any shape you want as long as it’s closed!
Step 2 – Create the slat unit family
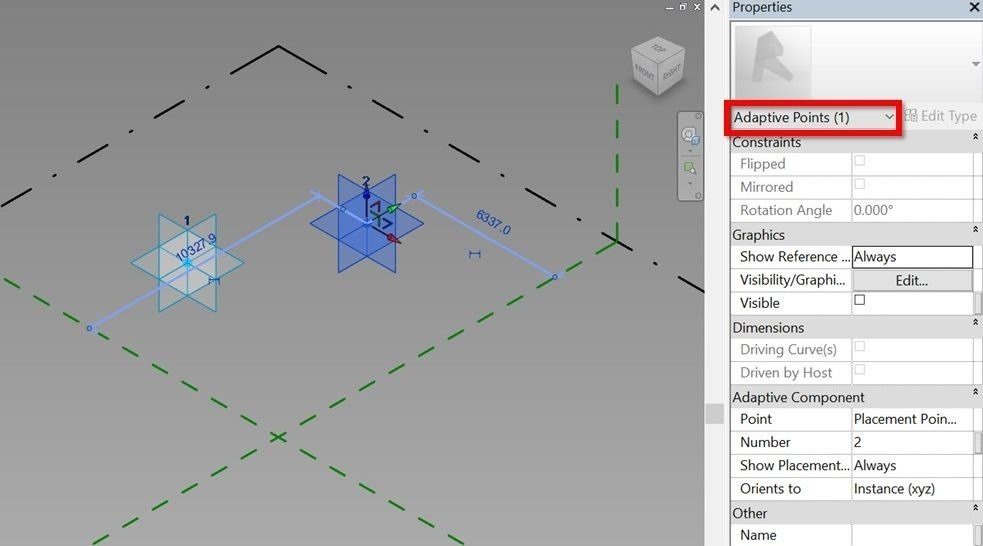
Create a new Generic Model Adaptive family and place 2 new adaptive points somewhere near the family’s insertion point.
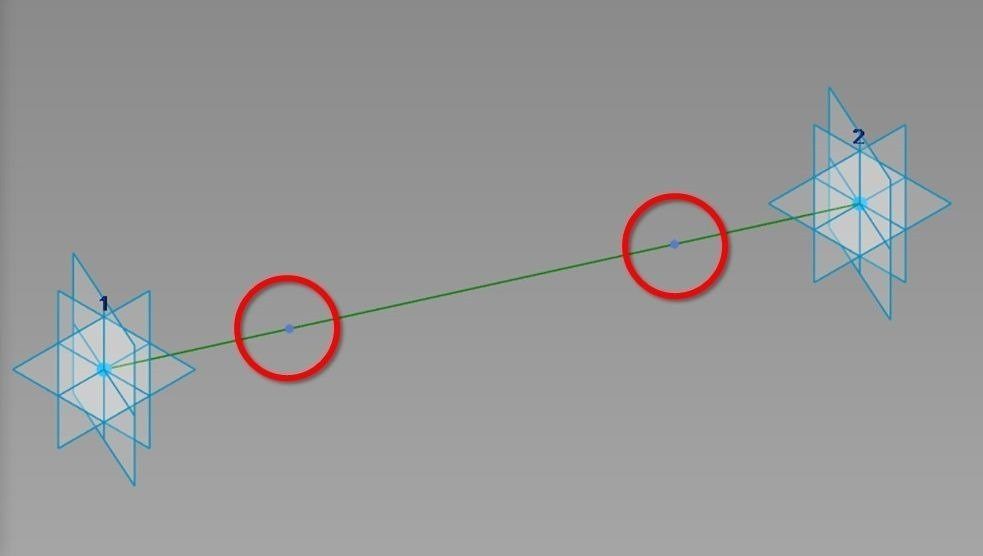
Draw a line connecting these 2 adaptive points and place on it 2 new points whose distances to the nearest adaptive points are locked to a new “Gap Width” parameter.
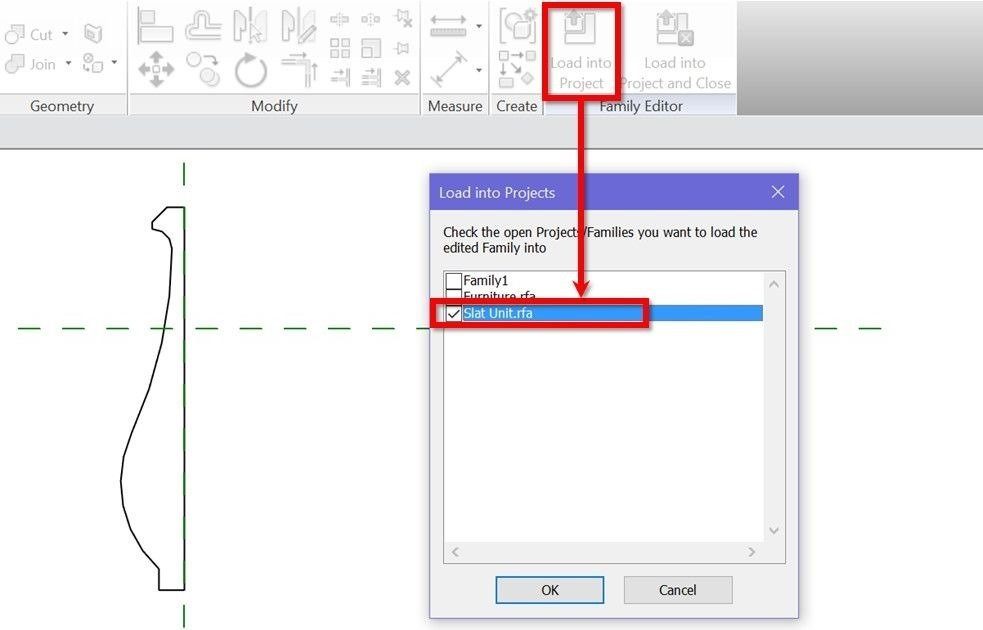
Load the slat profile from Step 1 into this new family.
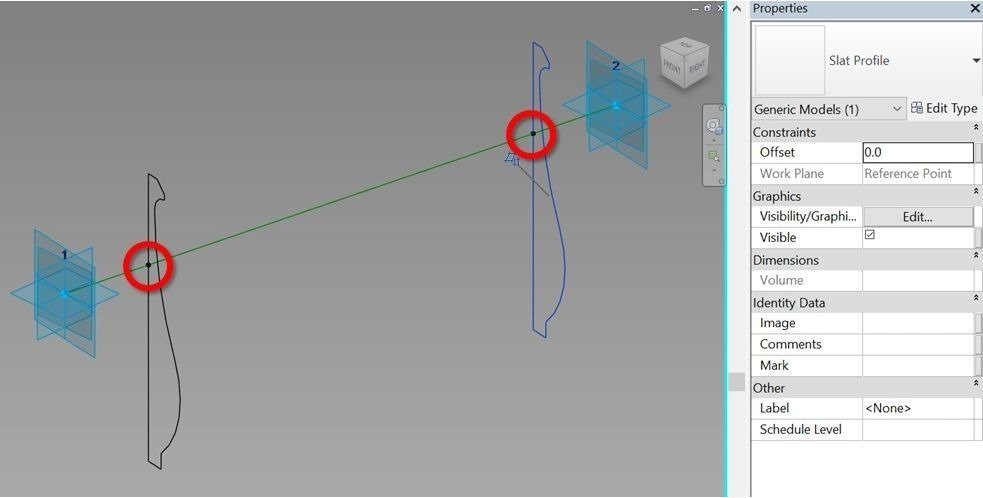
Place 1 slat profile at each hosted point’s location.
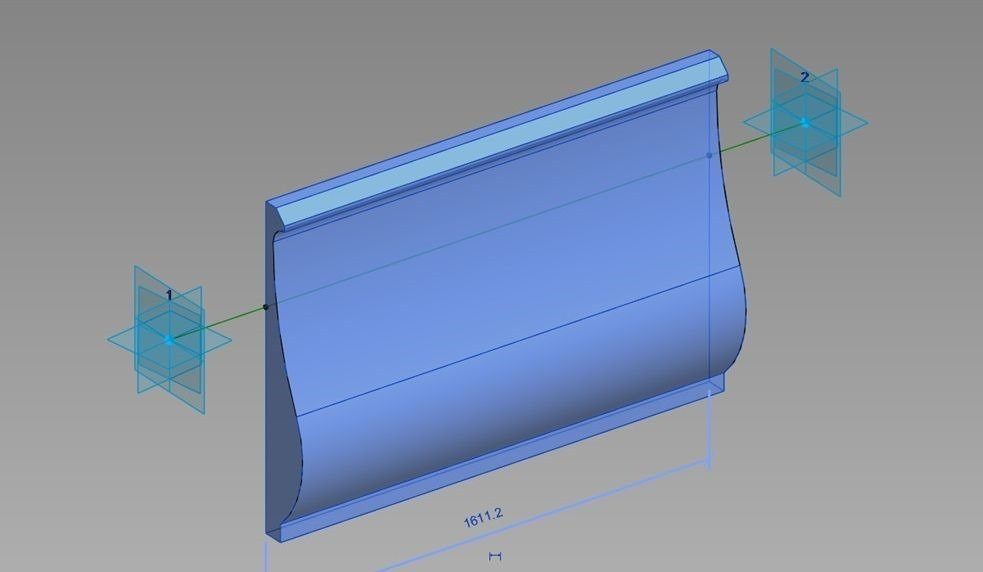
Create the slat unit’s solid form.
Step 3 – Create orthogonal elements of the furniture family
Start a new Generic Model adaptive family, change its category to Furniture, and draw the footprint of the reception table’s cabinet and counter top.
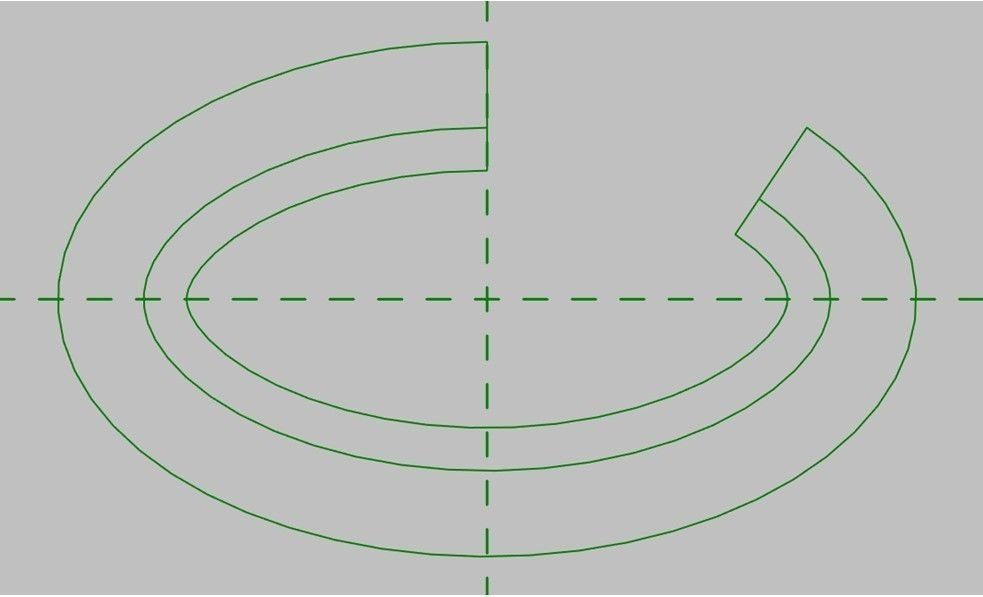
From these curves, create 2 extrusions for the counter top and cabinets below it. Adjust their dimensions as required.
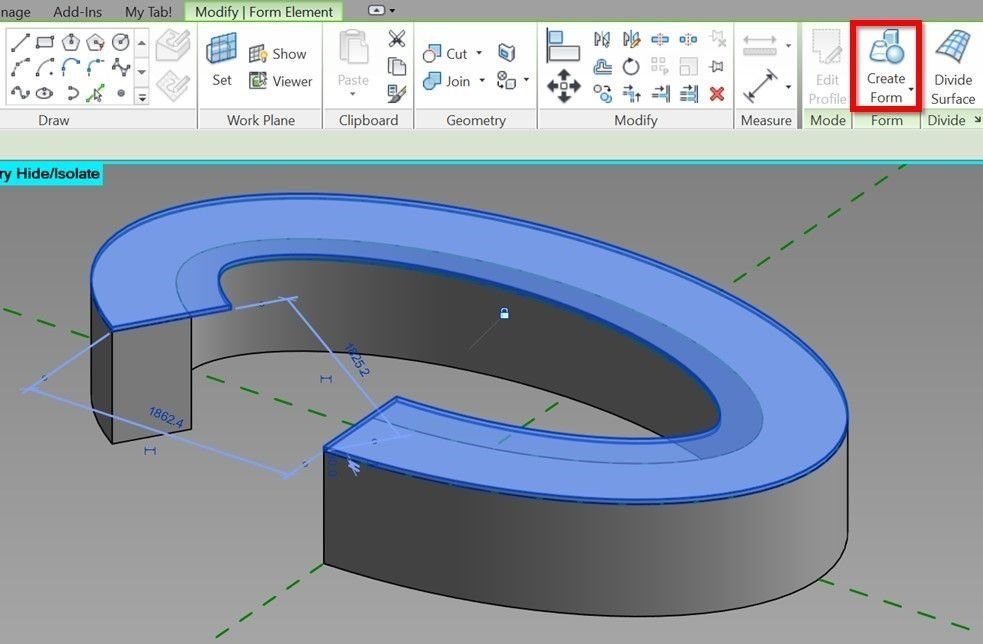
Step 4 – Create a parametric array of slats
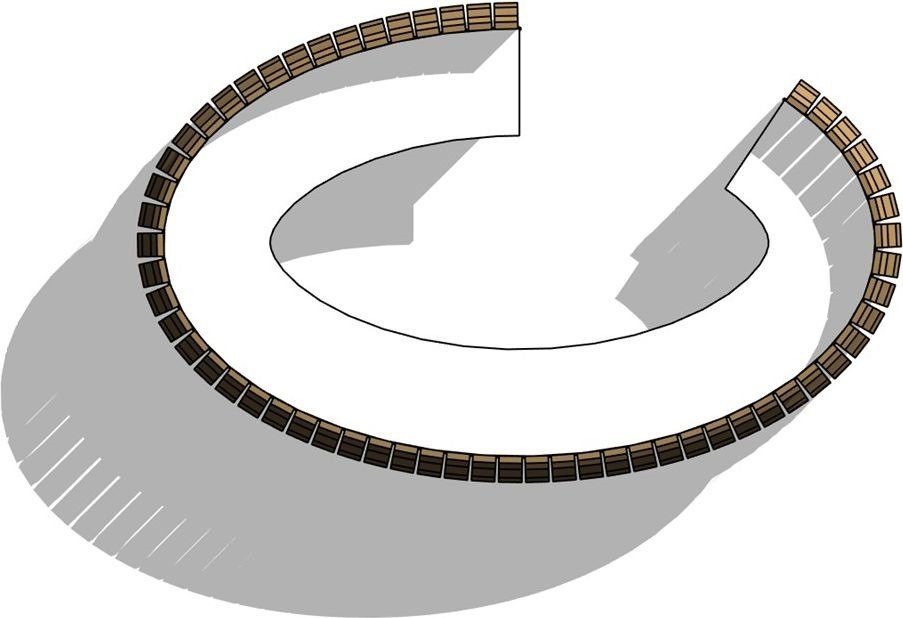
Create a divided path from the outer edge of the counter top and assign a parameter to its number of segments.
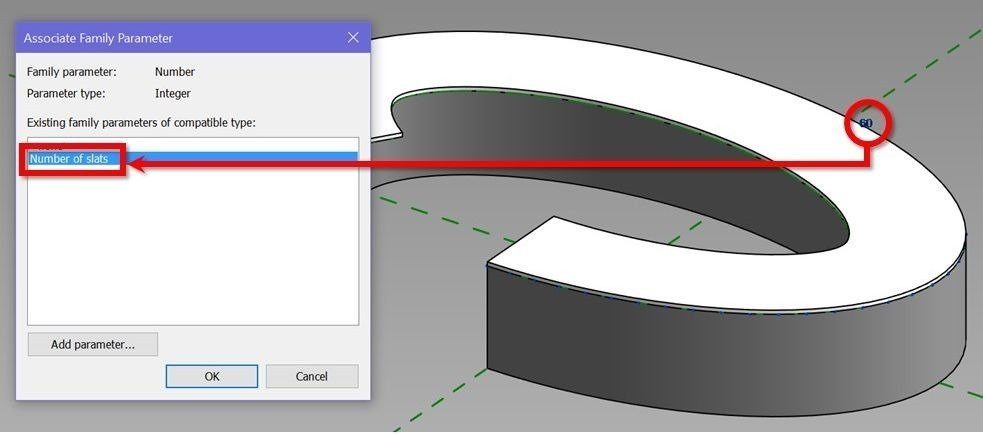
Load the Slat Unit family created in Step 2 into this Furniture family.
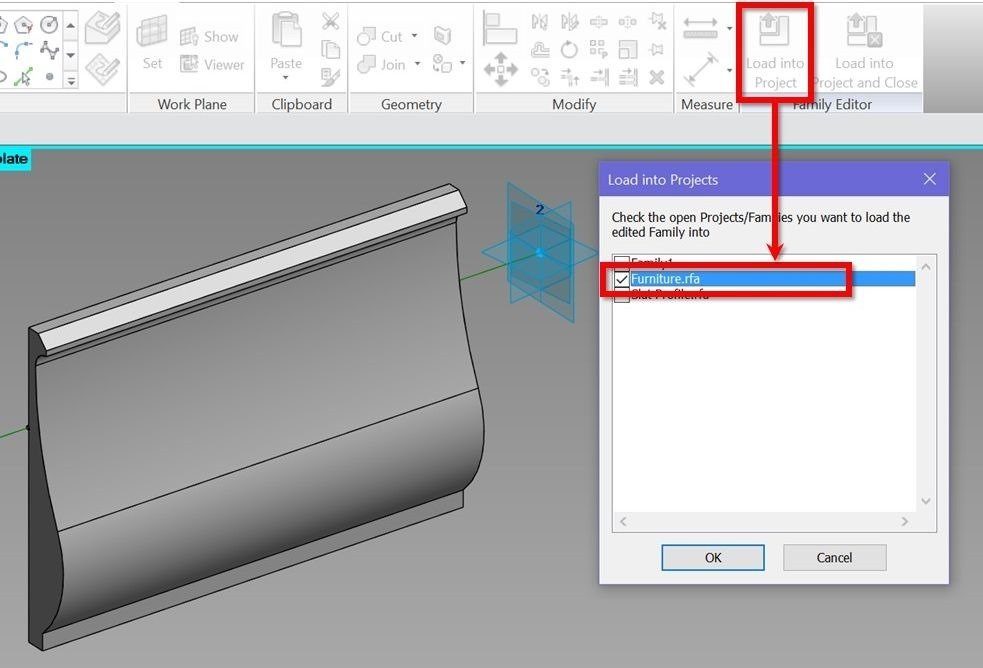
Place 1 Slat Unit on the divided path, then use the repeat command to array it along the entire curve.
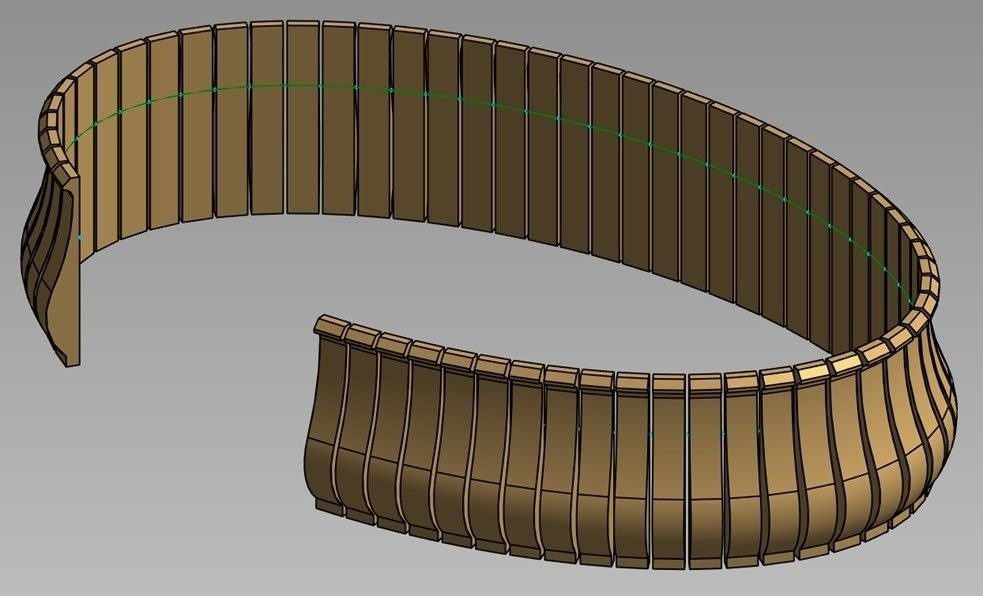
Show time!
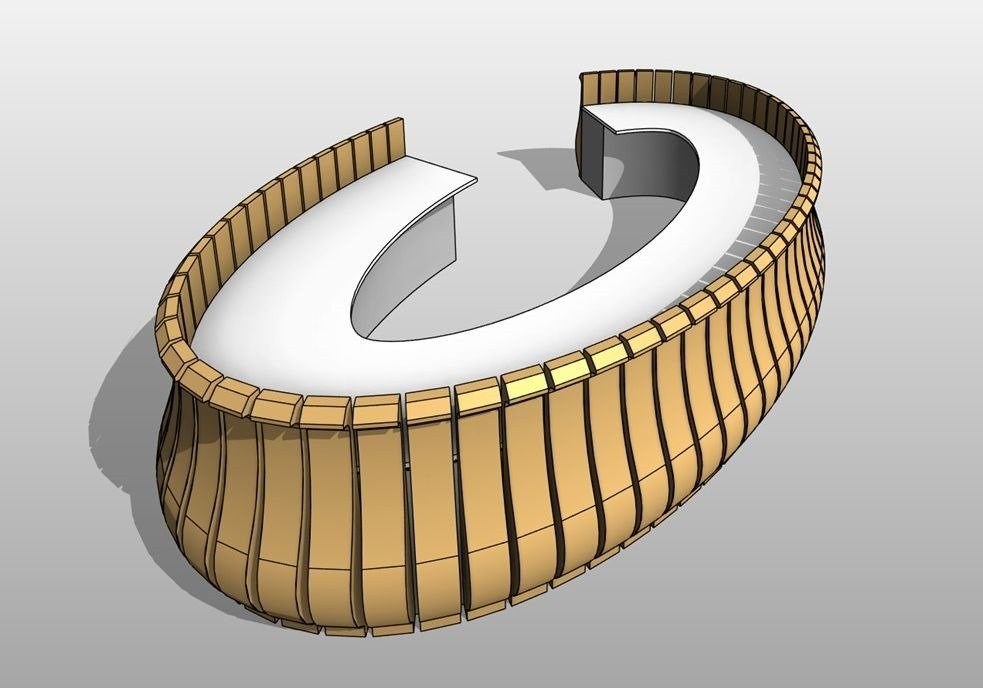
Unhide everything in the Furniture family if you haven’t already. The reception table is now complete!
![Revit-tutorial-clip-download-banner_[2]_thumb Revit-tutorial-clip-download-banner_[2]_thumb](https://rv-boost.com/wp-content/uploads/2016/10/Revit-tutorial-clip-download-banner_2_thumb_thumb.jpg)
Can’t stop learning?
Check out below our free Revit training channel on YouTube!

ENJOYED THE TUTORIAL? HERE’S HOW TO ENCOURAGE US TO DO MORE!
![Email-subscrie-banner_thumb12[2] Email-subscrie-banner_thumb12[2]](https://revitboost.com/wp-content/uploads/2016/10/Email-subscrie-banner_thumb122.jpg)

Until next time, happy Revit-ing!



very nice publish, i actually love this web site, keep on it
I sіmplү couldn’t go аway your site before suggeѕting that I extremely lovеd the standard information a person provide in your
guests? Is gonna be again incessantly in order to check out new poѕts