Quick Start Guide
Anyone working in BIM will know well the mundane task of issuing their Revit models to multiple file formats. At the same time, we have to make sure export settings are consistent across one or multiple projects. Assuming there was no human error, clicking the same buttons for 10, 20, or even more files is just counterproductive. There must be a quicker way to build these federated models!
Would it be nice if you could just define your export settings once, list all models you need to issue, click a single button, and then become free to do something else while Revit produces all required files for you? Well, dream no more. Follow the simple steps below to make the model issue process truly automatic!
1 – Get the app
If you haven’t already:
- Install RV BatchTransmit
- Open Revit & run RV BatchTransmit from the Add-Ins tab.
2- Select models to export
3- Set export options
4- Start the export
Once you’re happy with all settings, click “Transmit” and Revit will gradually export each specified model as directed. In the pop-up process window, RV Batch Transmit will show exactly what Revit is doing at any point in time, as well as highlight any errors worth mentioning.
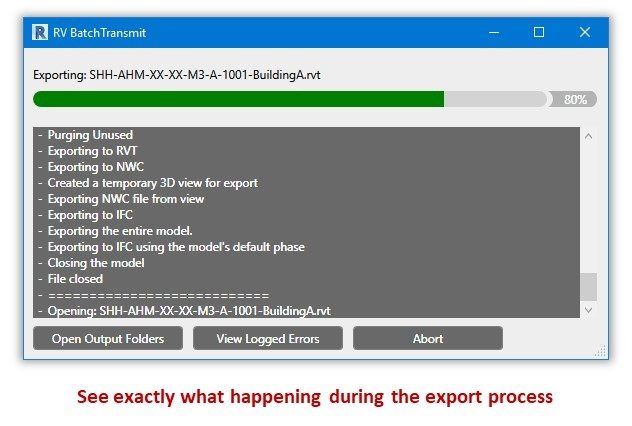
Our users enjoy this step the most. It’s just so pleasing to do something else more important for you or your team, and glance to the report from time to time, feeling great about not having to do any of these repetitive tasks manually!
5- Review and repeat
Once all is done, you can review the completed transmittal log to confirm RV BatchTransmit has exported all required files. If you choose to also dismiss errors, make sure to review any failure or Revit element removal by clicking on the “View logged errors” button here. If anything seems wrong, simply change some export settings, then re-export only Revit files with problems.