RV Help Center
-
CAD Files Explorer
-
RV BatchTransmit
-
RV CameraPlanner
- Quick Start
- Speed up camera obstruction detection
- Configure camera obstructions
- Obstruction check plane
- Vary filled region settings by camera type
- Create multiple filled regions per camera
- Customize filled region appearance
- Filled region's origin offset
- Rotate filled region around camera
- Transfer settings between models
-
RV ClashBox
-
RV DeepClean
-
RV FamilyPurge
-
RV Live Coordinates
-
RV RoomLink
- Quick Start Guide
- Settings Checklist
- Use Custom Filters
- Guess Directions
- Use location projection on level
- Elements without rooms assigned
- Combine contained elements' parameters
- Count containted elements
- Distribute numeric room/space values
- Schedule objects above ceilings
- Schedule doors & windows by linked rooms
- Copy element data to rooms/spaces
- Extend Room/Spaces to Bounds
- Using a Network License
-
RV ZoneMonitor
-
Licensing
< All Topics
Print
Select models to export
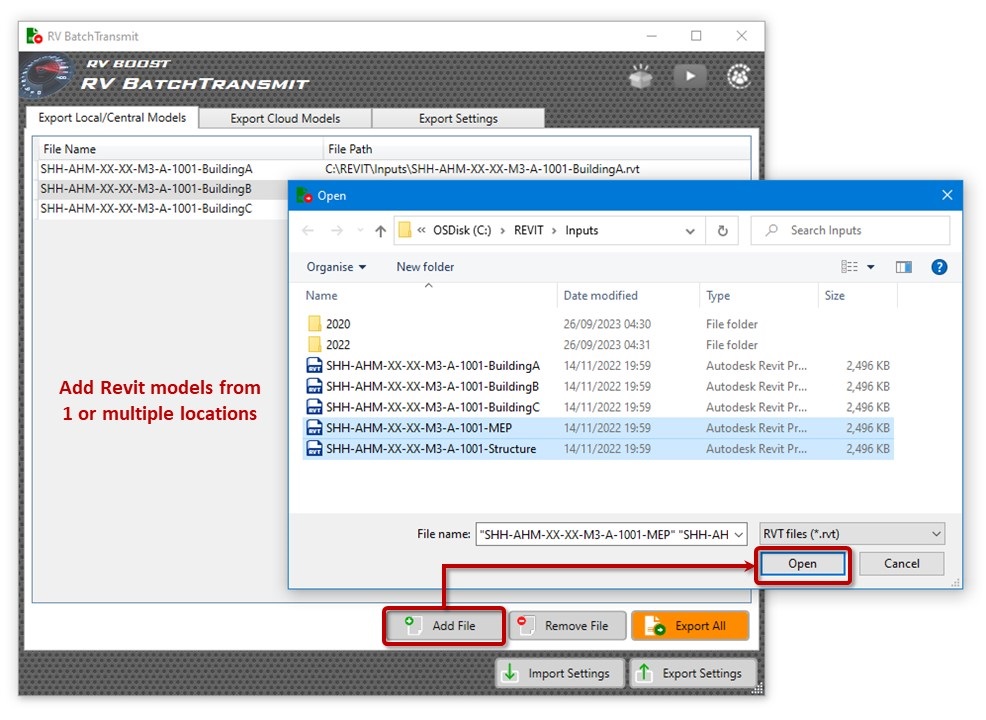
To being, open RV BatchTransmit from the ribbon.
Use the “Add Files” and “Remove Files” buttons as needed to build a list of all Revit models you want to export. They can come from any folder on your computer or company network.
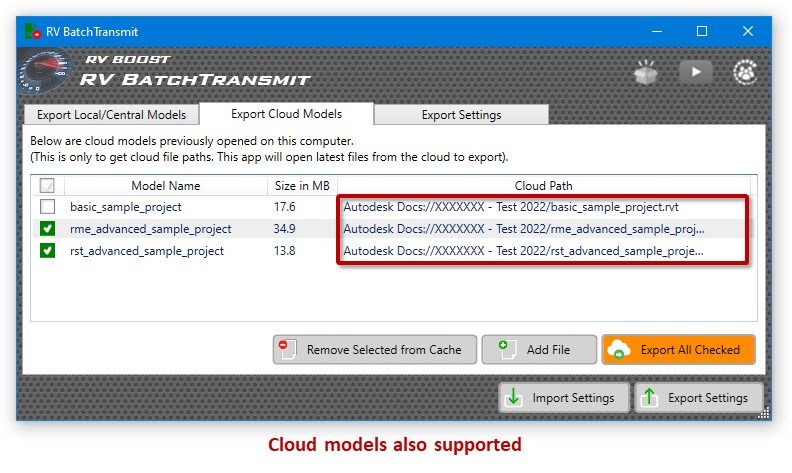
You can also export cloud models on BIM360/Autodesk Construction Cloud that you have access to.
Contents