Move Elements to Coordinates
With RV LiveCoordinates, you can specify custom values in the X, Y & Z coordinate parameters of one or many Revit elements, and then tell the app to move these objects to the desired locations. Here are the necessary steps:
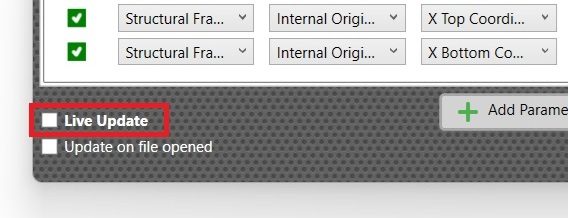
1-Disable Live Update if currently active
If you have enabled Live Update in the app, it will be impossible to set X, Y & Z coordinate parameters to custom values. As soon as you apply changes to an element, the app will check it, see that the coordinate values don’t match its existing location, and update those values to the previous figures.
To disable Live Update, open the app’s main Settings window, uncheck this box, and then click Apply.
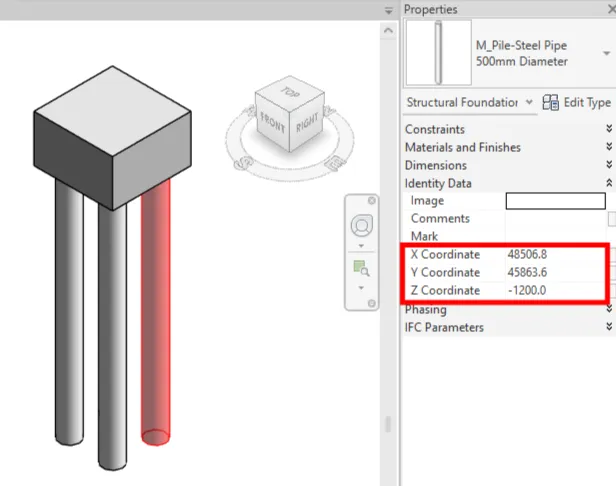
2-Set Custom Coordinate Values
Identify parameters you have set up the app to write coordinates to. Move Items mode supports all coordinate bases and element reference types available in the app’s main Settings window.
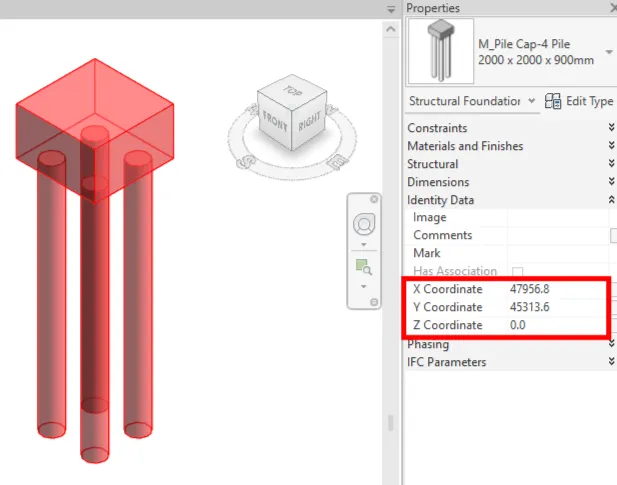
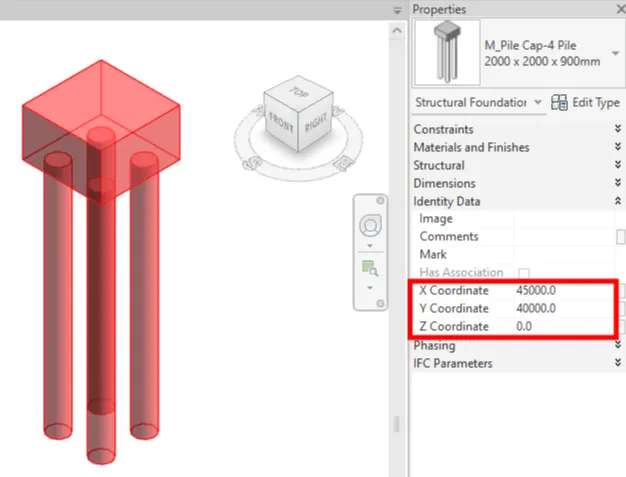
Change the coordinates to new desired values and then apply your changes. You can do this for individual elements or use a workflow that involves importing coordinates from an external data source like Excel. Just make sure the workflow you use will write coordinate values to the correct parameters.
3-Batch-update Element’s Positions
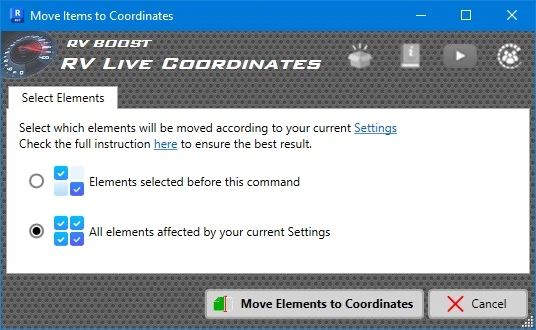
Run the “Move Items to Coordinates” command from the ribbon:
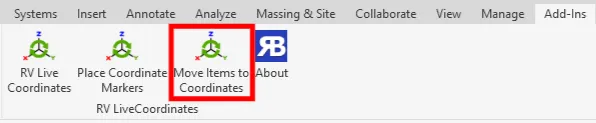
You can now choose one of two modes:
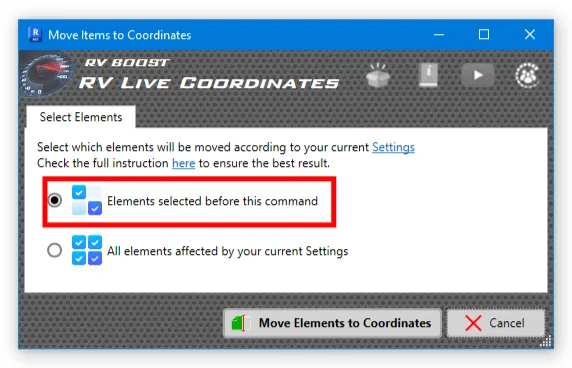
- Update selected elements: Useful if you want to test the update, or just want to modify one element at a time.
- Update all elements affected by your current Settings: This works well if you have imported new coordinates to lots of Revit elements and want the app to move all those objects to the new locations.
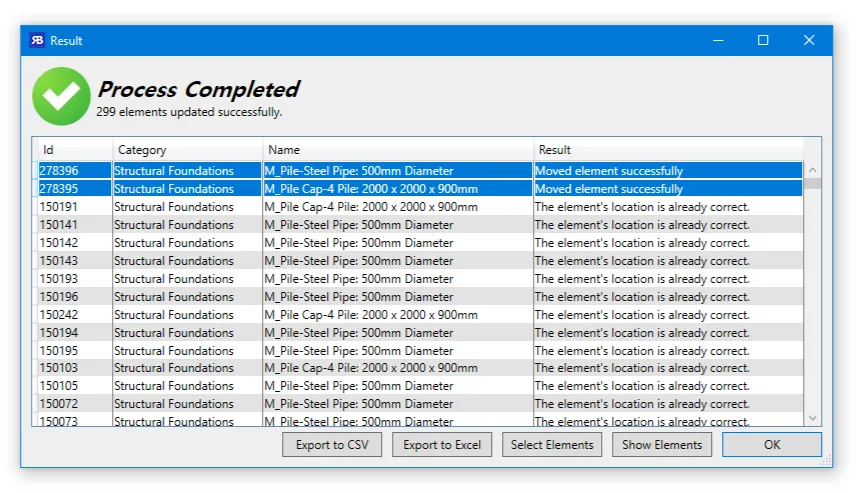
Finally, click “Move Elements to Coordinates” to complete the update. You can then review the result in the following window:
Note on Nested Components
In the example above, the pile cap foundation didn’t actually move. This is because its family has some nested steel pipes. So, the app moved the pile cap to the new correct location but then also had to move the steel pipes.
Because we didn’t specify new coordinate values for these pipes, they were moved back to the original position, taking the pile cap along. As a result, the whole foundation didn’t seem to move at all.
There are several ways to fix this:
Option 1: Move only selected elements
If we select all pile caps and choose to move only the selected elements, the app won’t try to move steel pipes and will update pile caps as expected.
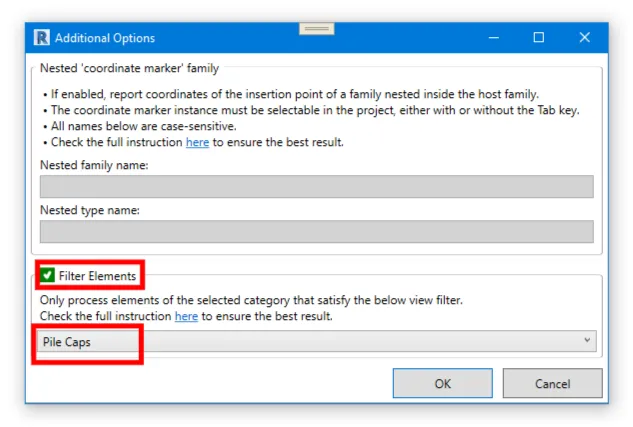
Option 2: Use custom element filters
You’re probably familiar with using Revit filters to modify the visibility and appearance of elements in a view. RV Live Coordinates allows using the same filters defined in your Revit model to update coordinates of only elements passing those filters.
In the pile foundations example above, simply edit your settings in RV Live Coordinates’ main window. Next, pick a filter that targets only pile cap foundations and not piles underneath each cap. For more details, see our guide on using custom filters here.
Option 3: Specify new coordinates for nested components
While sounds tedious, this can be automated if you’re importing Revit coordinates from sources like Excel. This works best if the new coordinates are exported from another software that also visualizes objects in 3D so that you can verify both the host family and nested components are at the right place at the time of export.