RV Help Center
Create 3D views from cameras
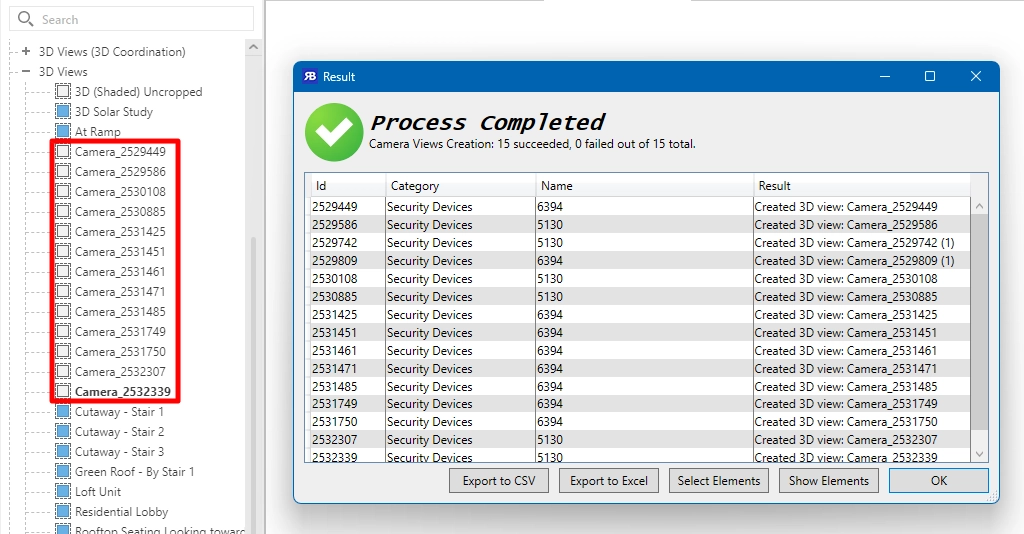
The Create Camera Views command automatically generates 3D perspective views from your security camera elements in Revit. Each view is configured to match the camera’s position, orientation, and field of view settings, making it easy to visualize what each camera can see.
Before You Start: Configure Your Settings
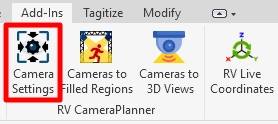
In Revit, click the “Camera Settings” button in the RV Camera Planner section. The tool generates new 3D views based on the current settings you have here, so it’s important to configure key properties right before batch processing.
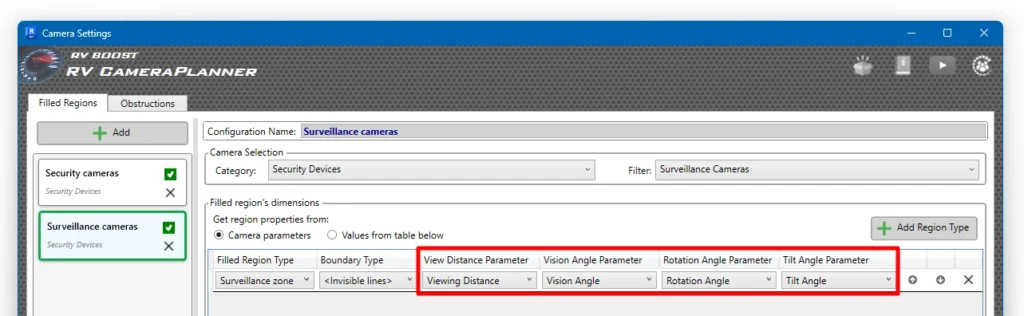
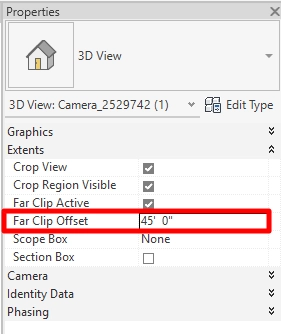
View Distance
Will be assigned to the Far Clip Offset value of new 3D views
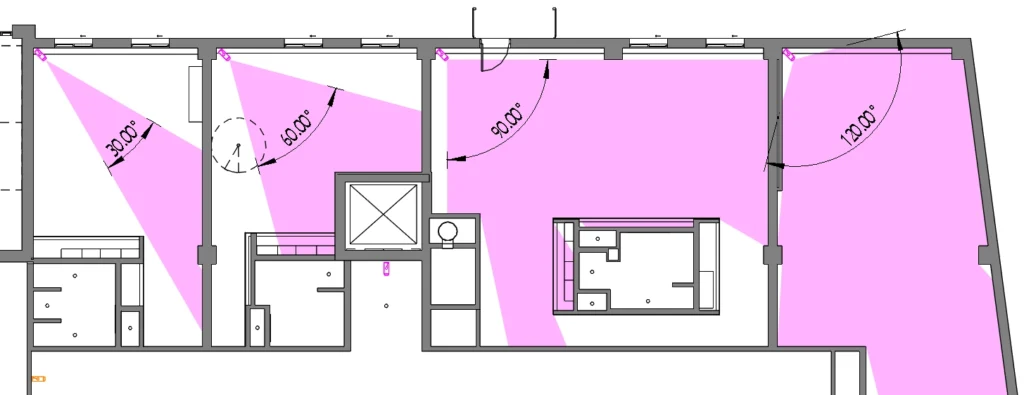
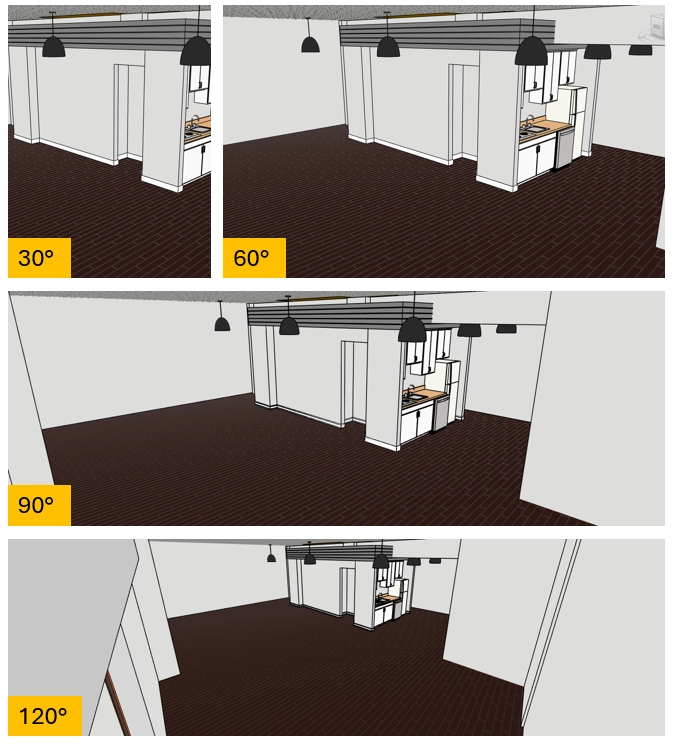
Vision Angle (Field of View)
How wide the new 3D view is:
- Narrow angles (30°): Telephoto/zoomed-in effect
- Wide angles (90°+): Wide-angle/fish-eye effect
Rotation Angle
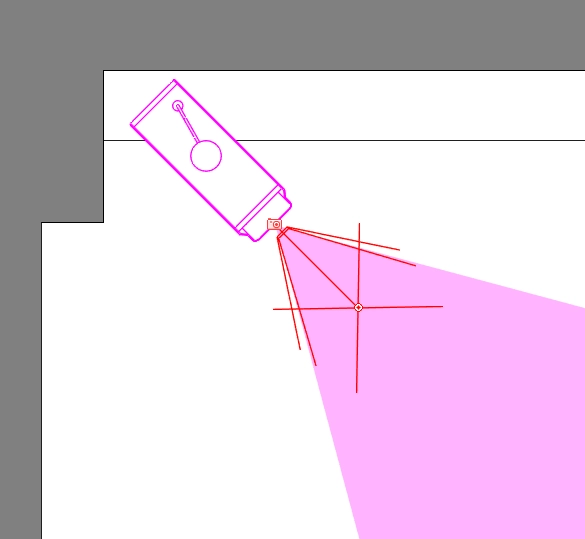
Yaw/pan adjustment around the vertical axis:
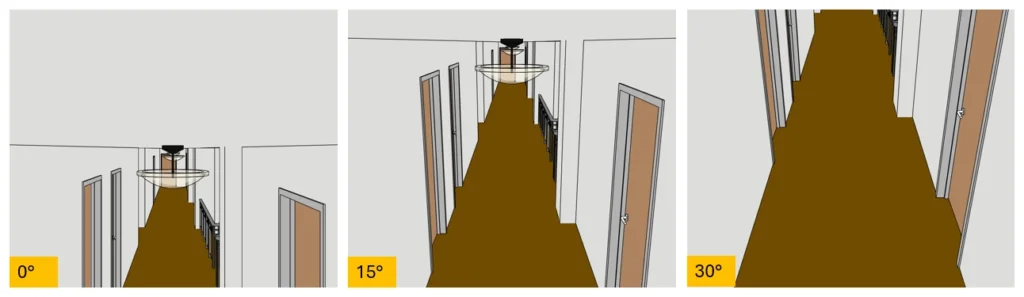
Tilt Angle
Pitch adjustment (positive = looking down):
Generate camera views
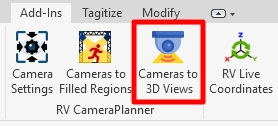
- Click the “Create Camera Views” button
- Select one or more camera elements from your model (only elements matching your configured cards will be selectable)
- Click the Finish button on the ribbon
- Inspect generated views and rename those if necessary